Create Your Own Personal Charcuterie Cones
Hop aboard this food trend for an easy-to-make snack.
Dec 17, 2021
In "Board Games," learn to level up your Sunday brunch, create a holiday board with all your favorite cookies, or style a cheese board for a night in. Charcuterie cones are the new charcuterie boards. Learn from Abby Guido, co-founder of Beijos Events, how to put these cute and personalized snack cones together in just a few easy steps.
We all love a good charcuterie board, but sometimes the amount of options can be overwhelming — for both the eyes and the stomach. Maybe you're staying in for the night with a few friends or just want a charcuterie snack without laying out enough food to feed a football team. If you are feeding a large group, individual appetizers are a great way to make sure everyone gets a bit of each tasty item without anyone fighting over the last piece of prosciutto. Enter the personalized single-serve charcuterie cones that are stuffed to the brim with all sorts of goodness. These little snack cones look luxurious and are perfect for a simple appetizer when you're pressed for time.
Preparation and ingredients
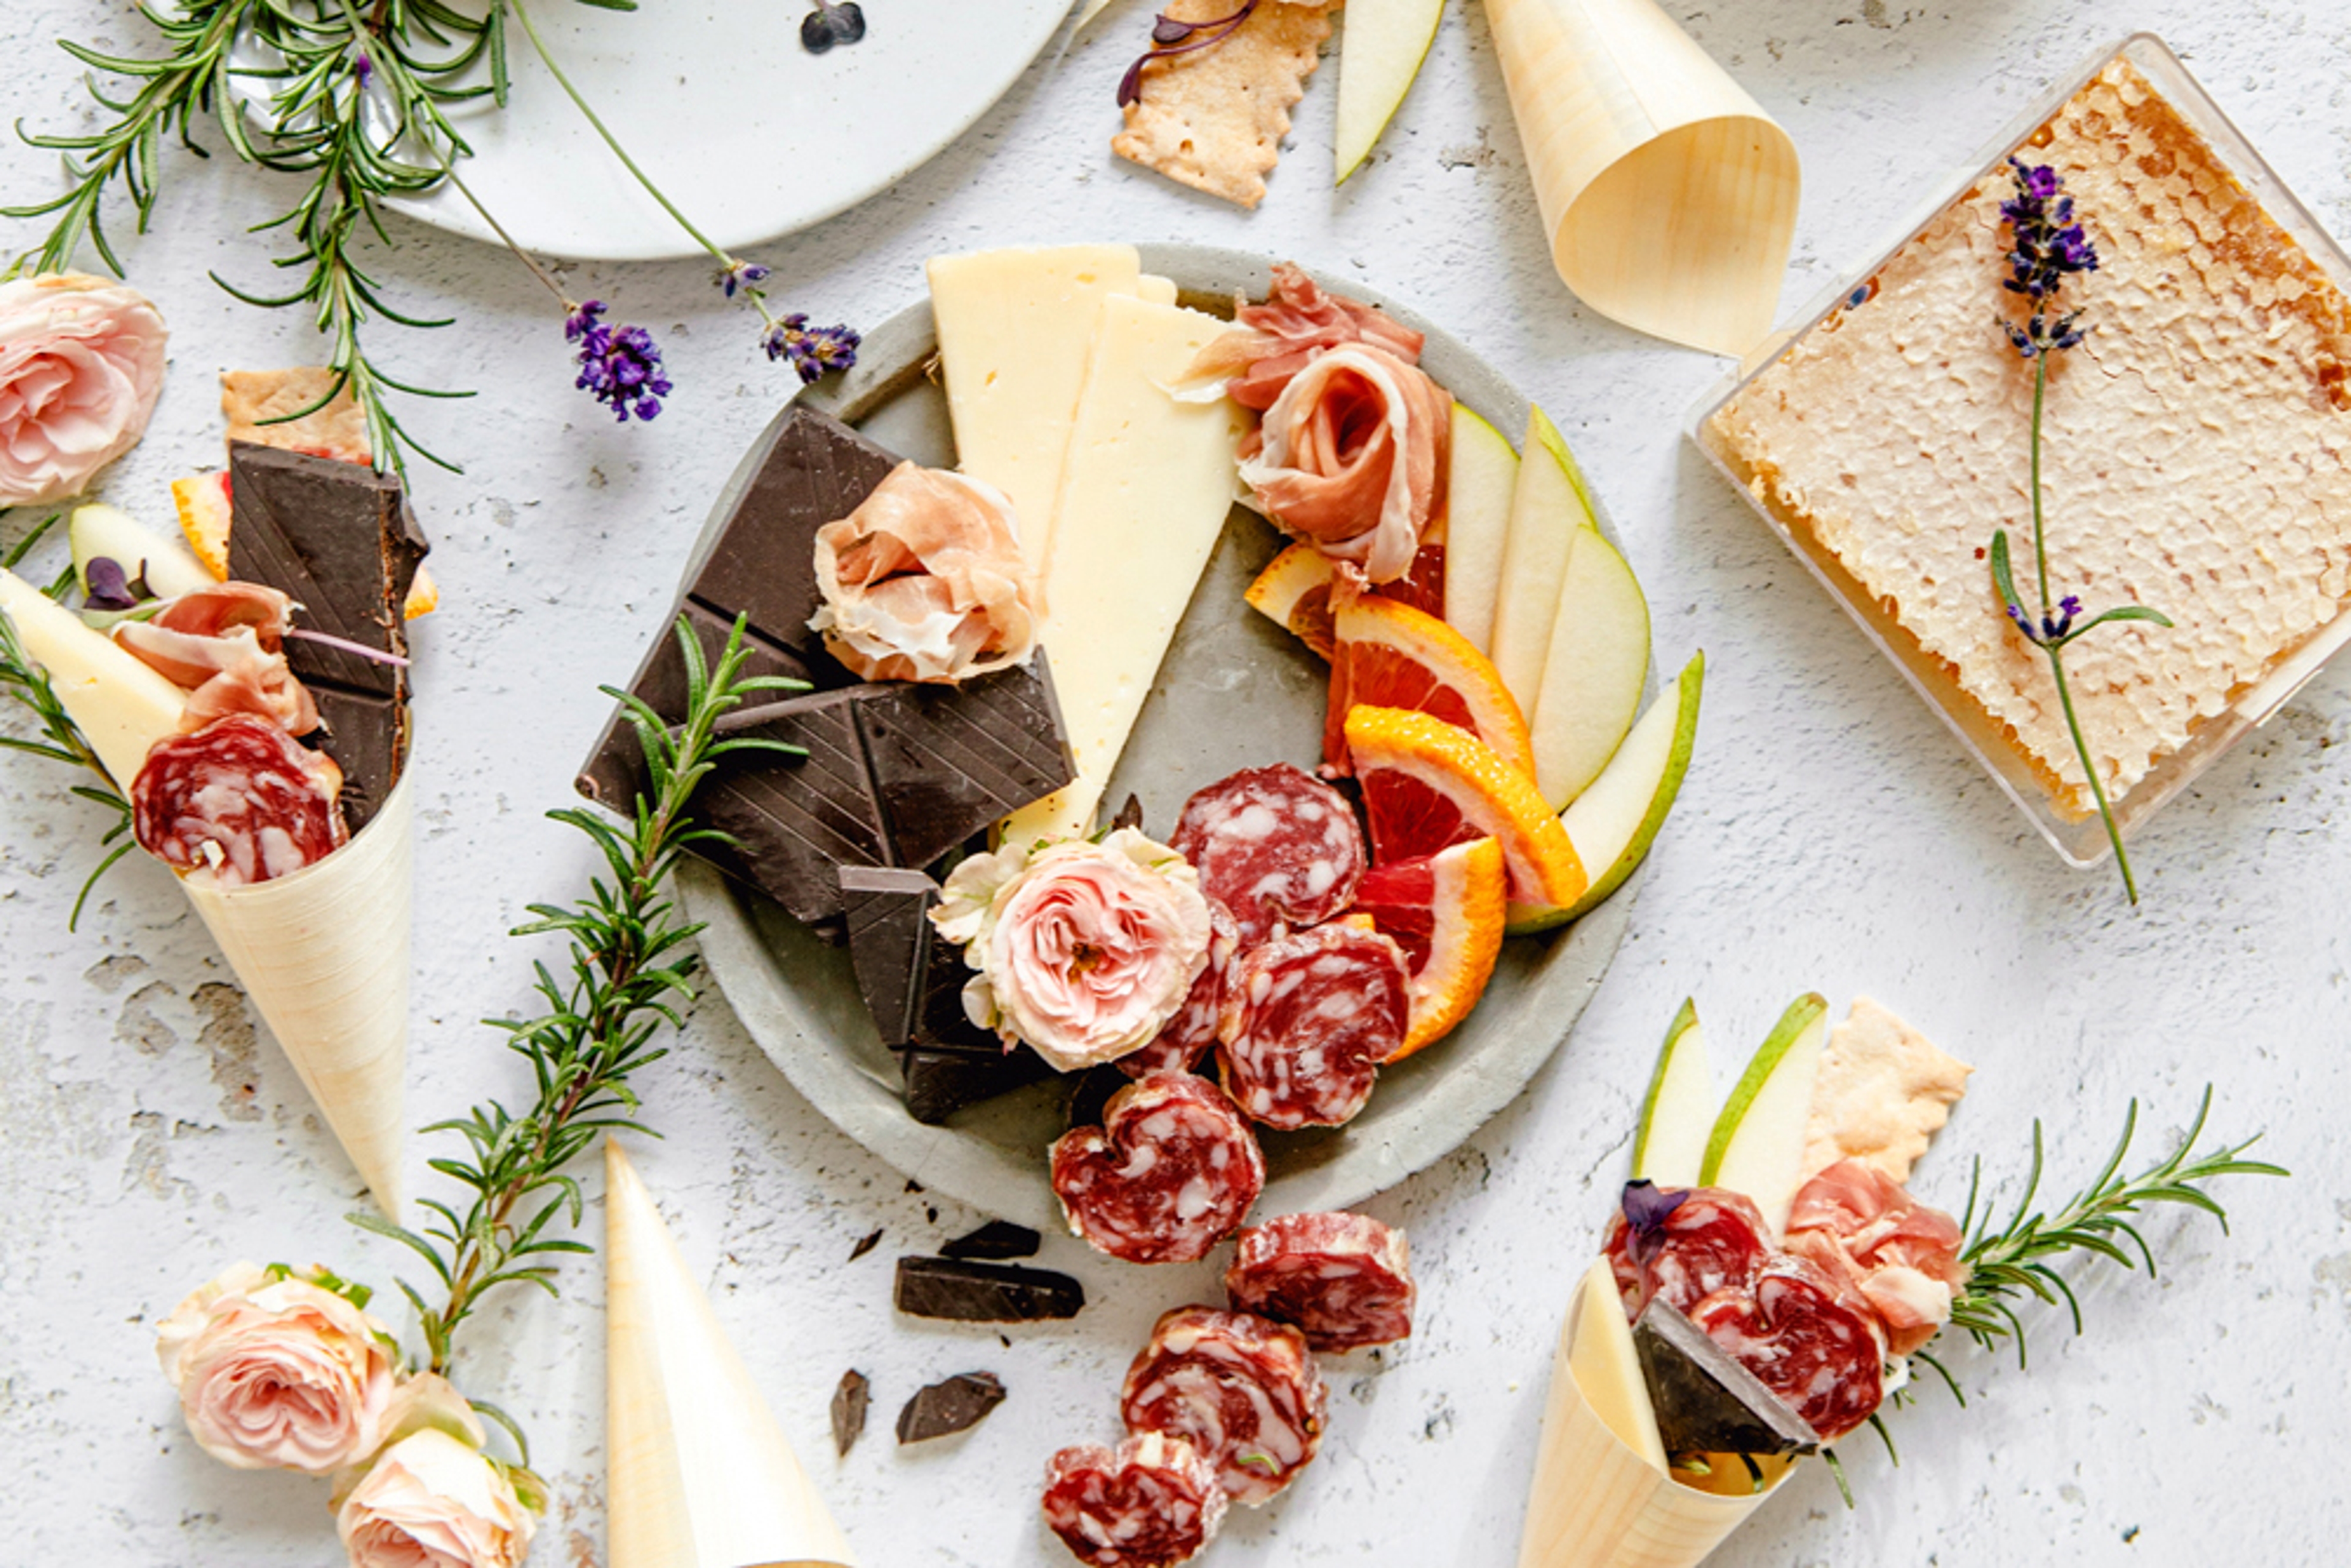
When putting together your ingredient list for your charcuterie cones, think about incorporating flavors that will complement one another. You can always go with the classic cheese and meats, try a sweet and salty version with caramel popcorn and savory snacks, or put together a dessert cone pairing chocolates with cheese. If you're serving a crowd, create a variety by featuring different meats and cheese in each one, making every cone unique. To add even more style, make sure you have classy cones to put everything in; you can buy the wood ones I used here.
Creating the charcuterie cones
You want to create a visually pleasing look while still accessing all the ingredients with one hand. It's almost like creating a flower arrangement, where you have some taller pieces and others that you add as fillers. Plus, adding in accoutrements, such as fresh herbs, make these a stunning centerpiece as well as a tasty snack.
While assembling these cones, you can lay them down on a table or use a cone holder to help put everything together faster. If you don't have a cone holder, you can also use a wine glass or tumbler (just make sure it's empty).
Step 1
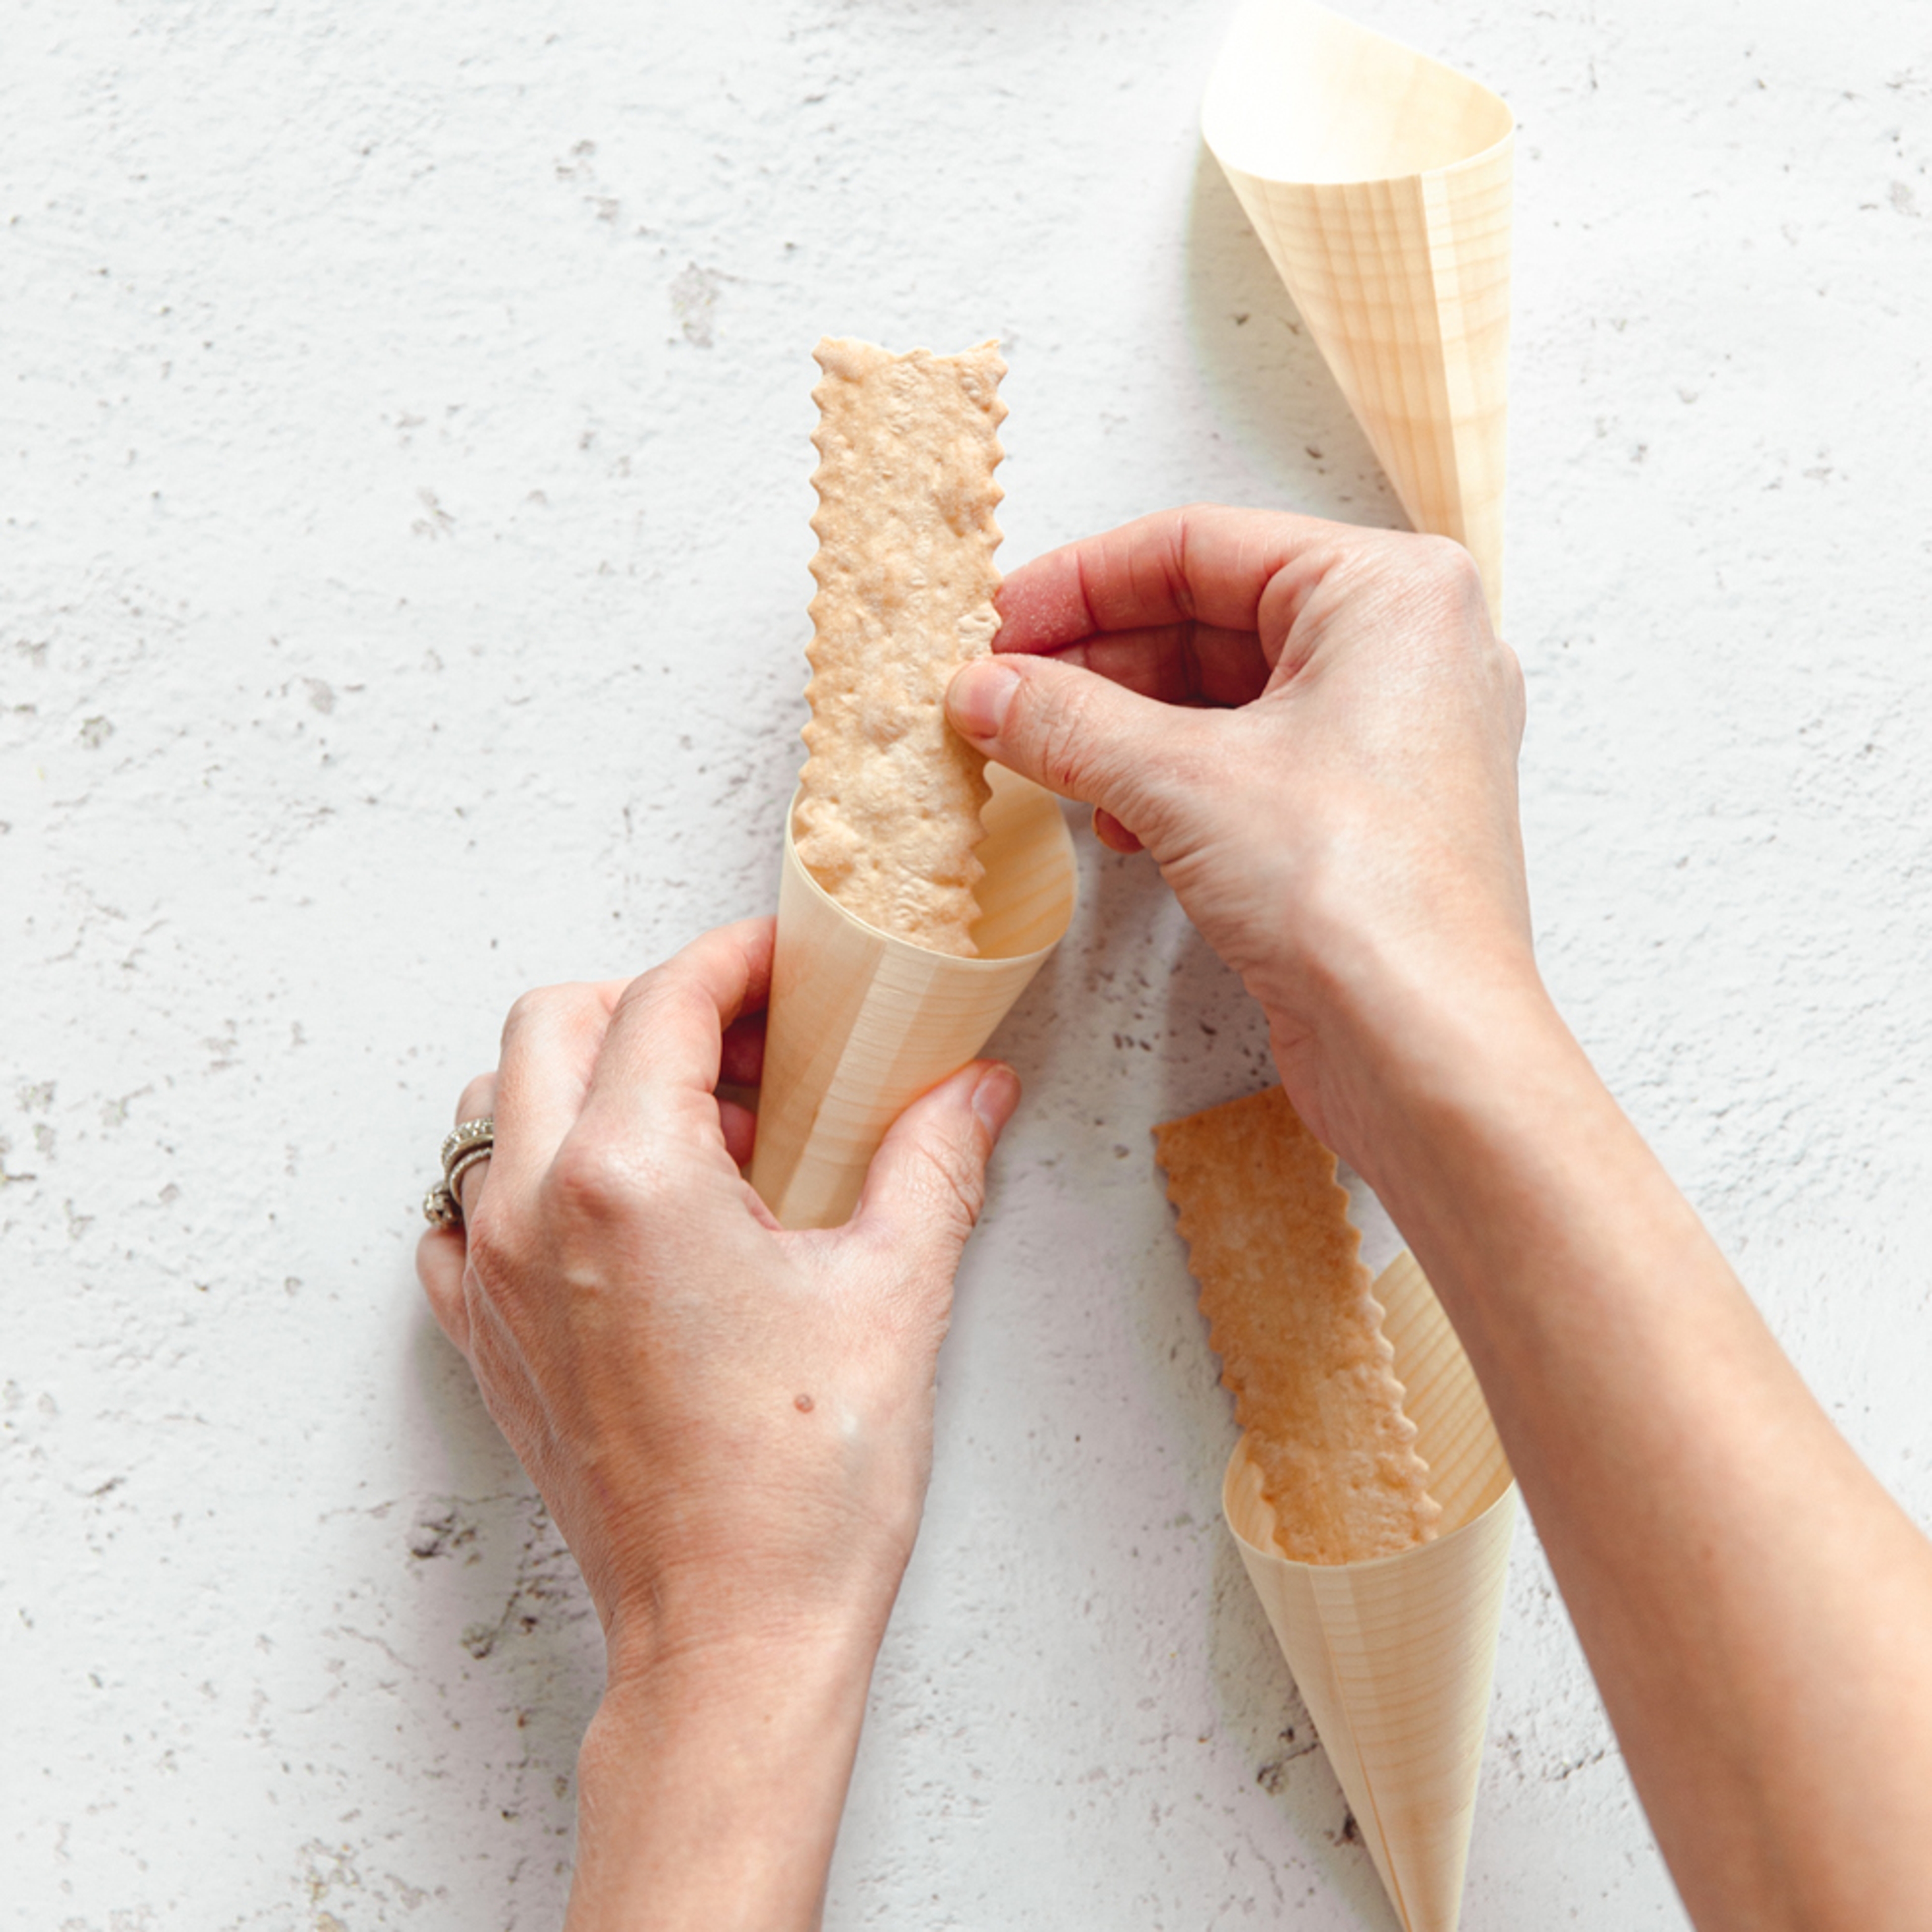
Start with a breadstick or long cracker as your base. This fills up space with a nice neutral backdrop and provides support for the other ingredients to sit against.
Step 2
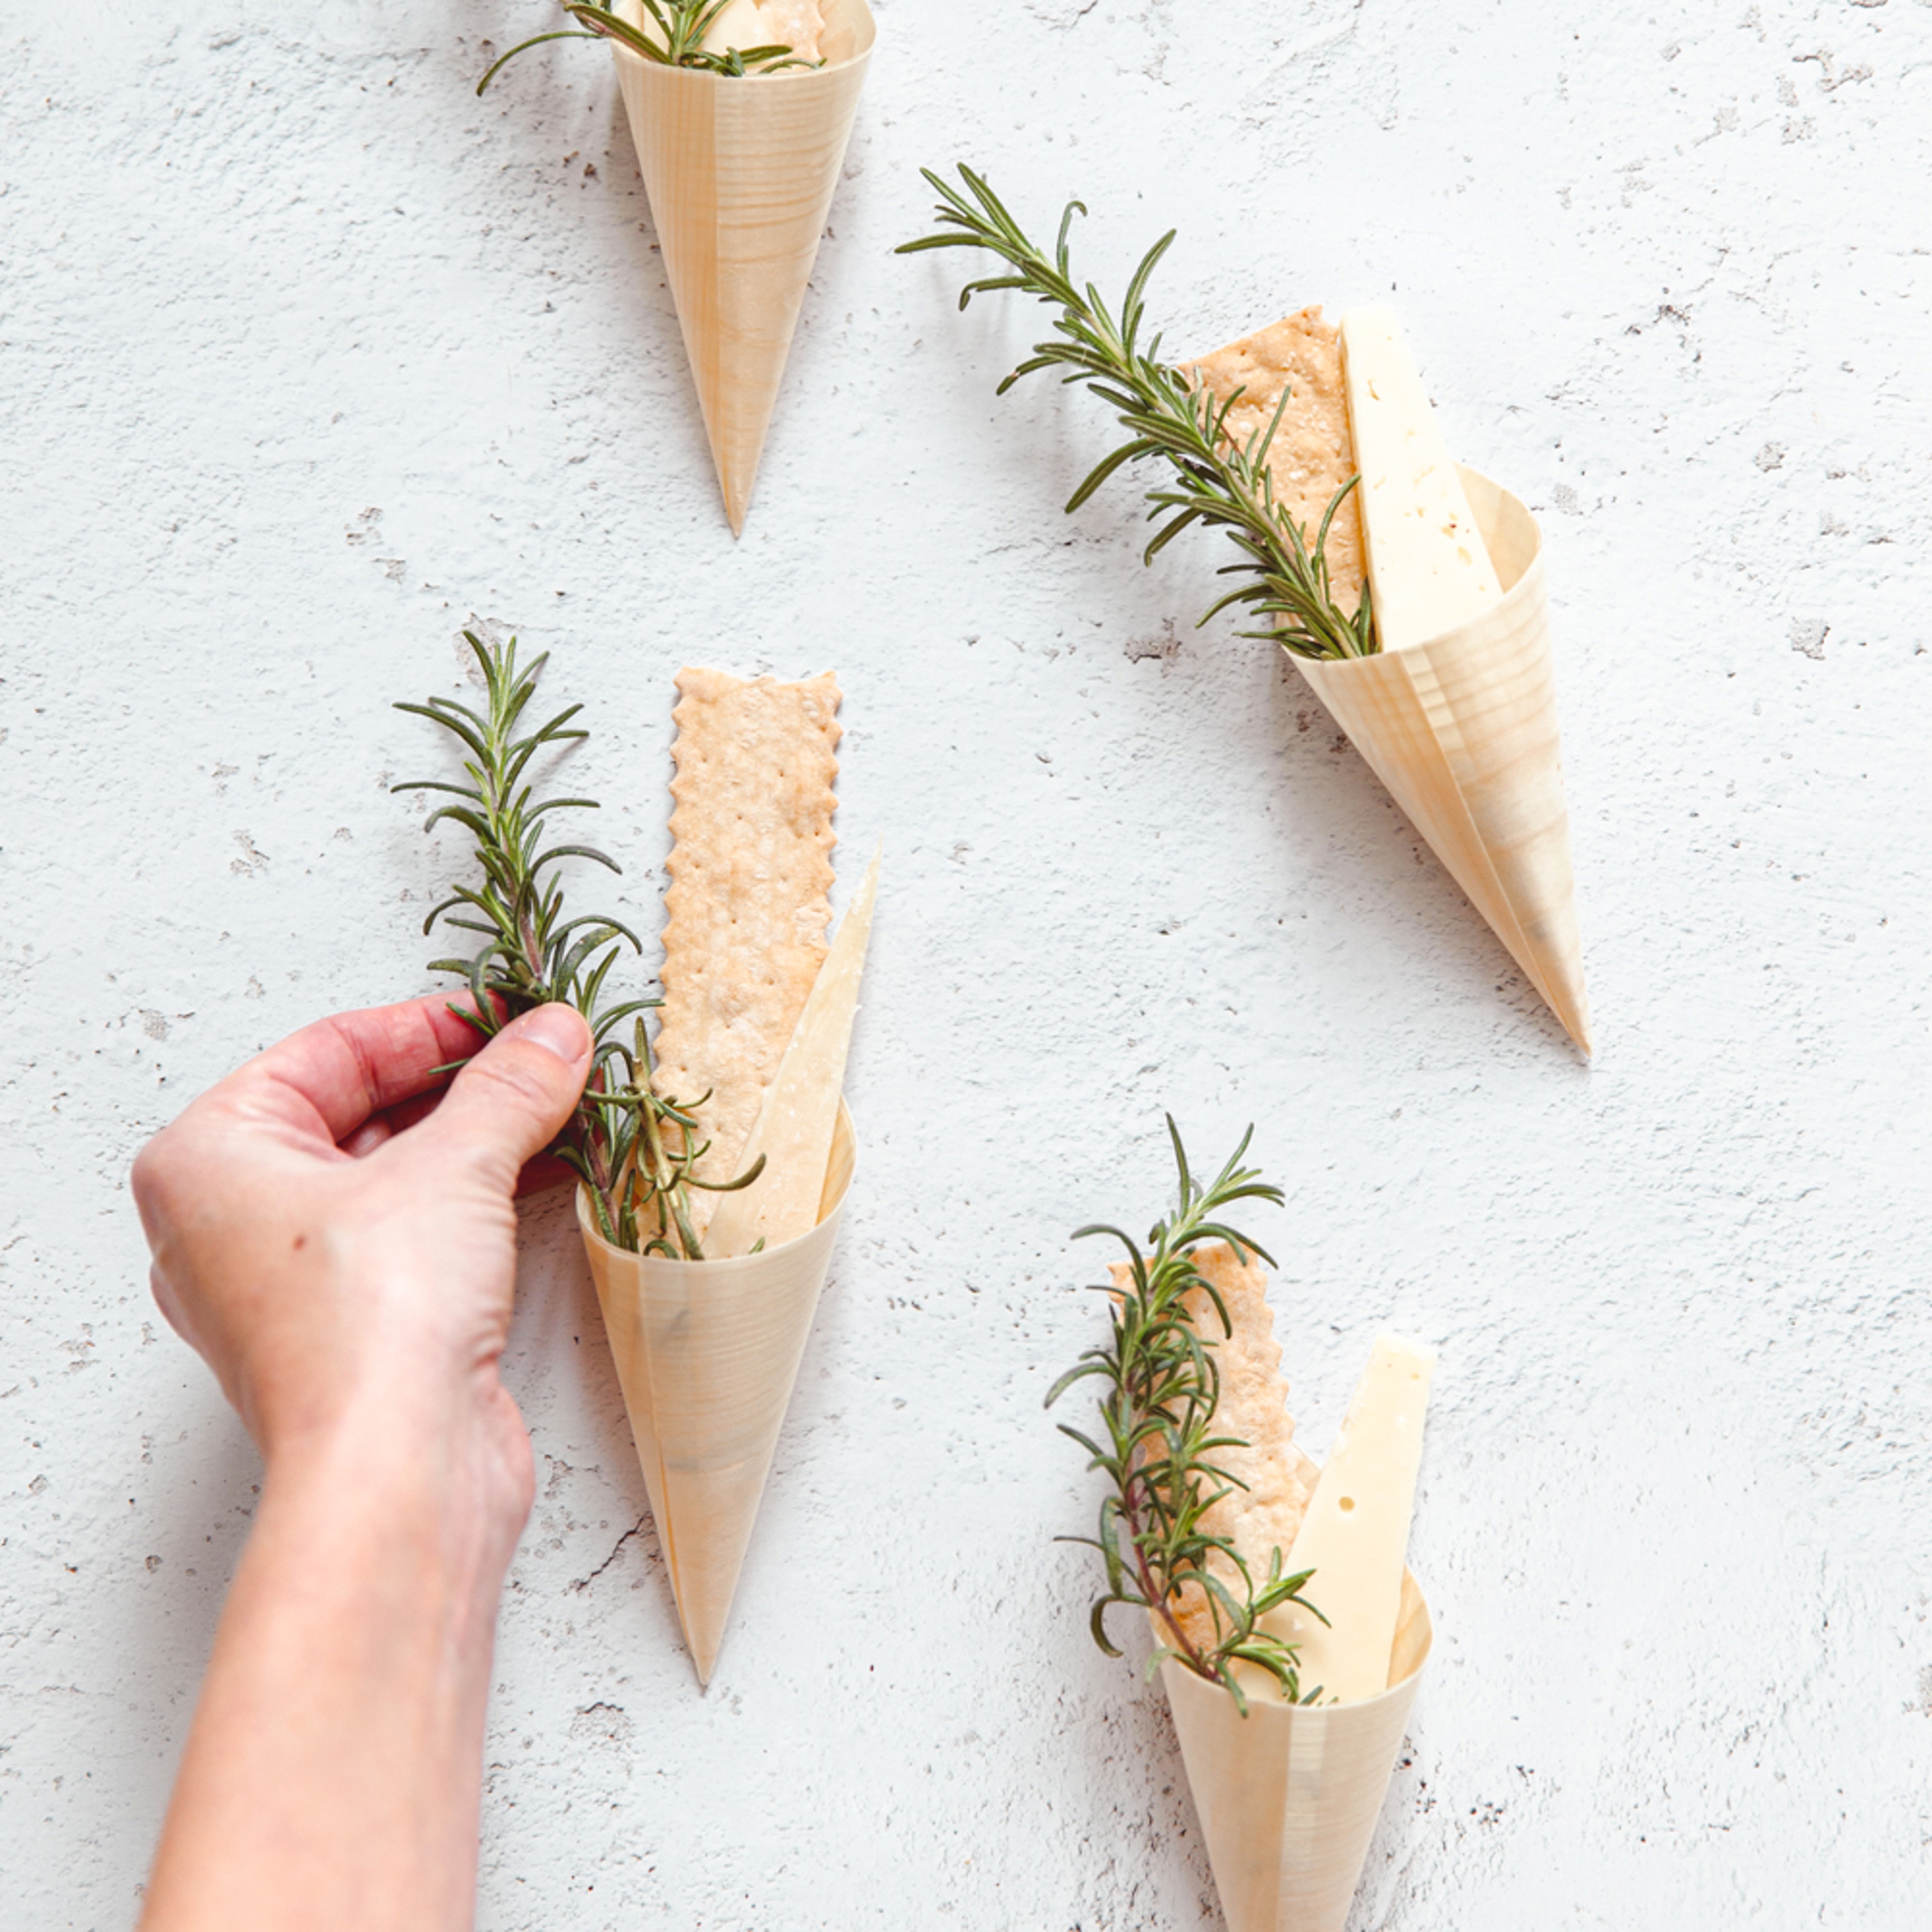
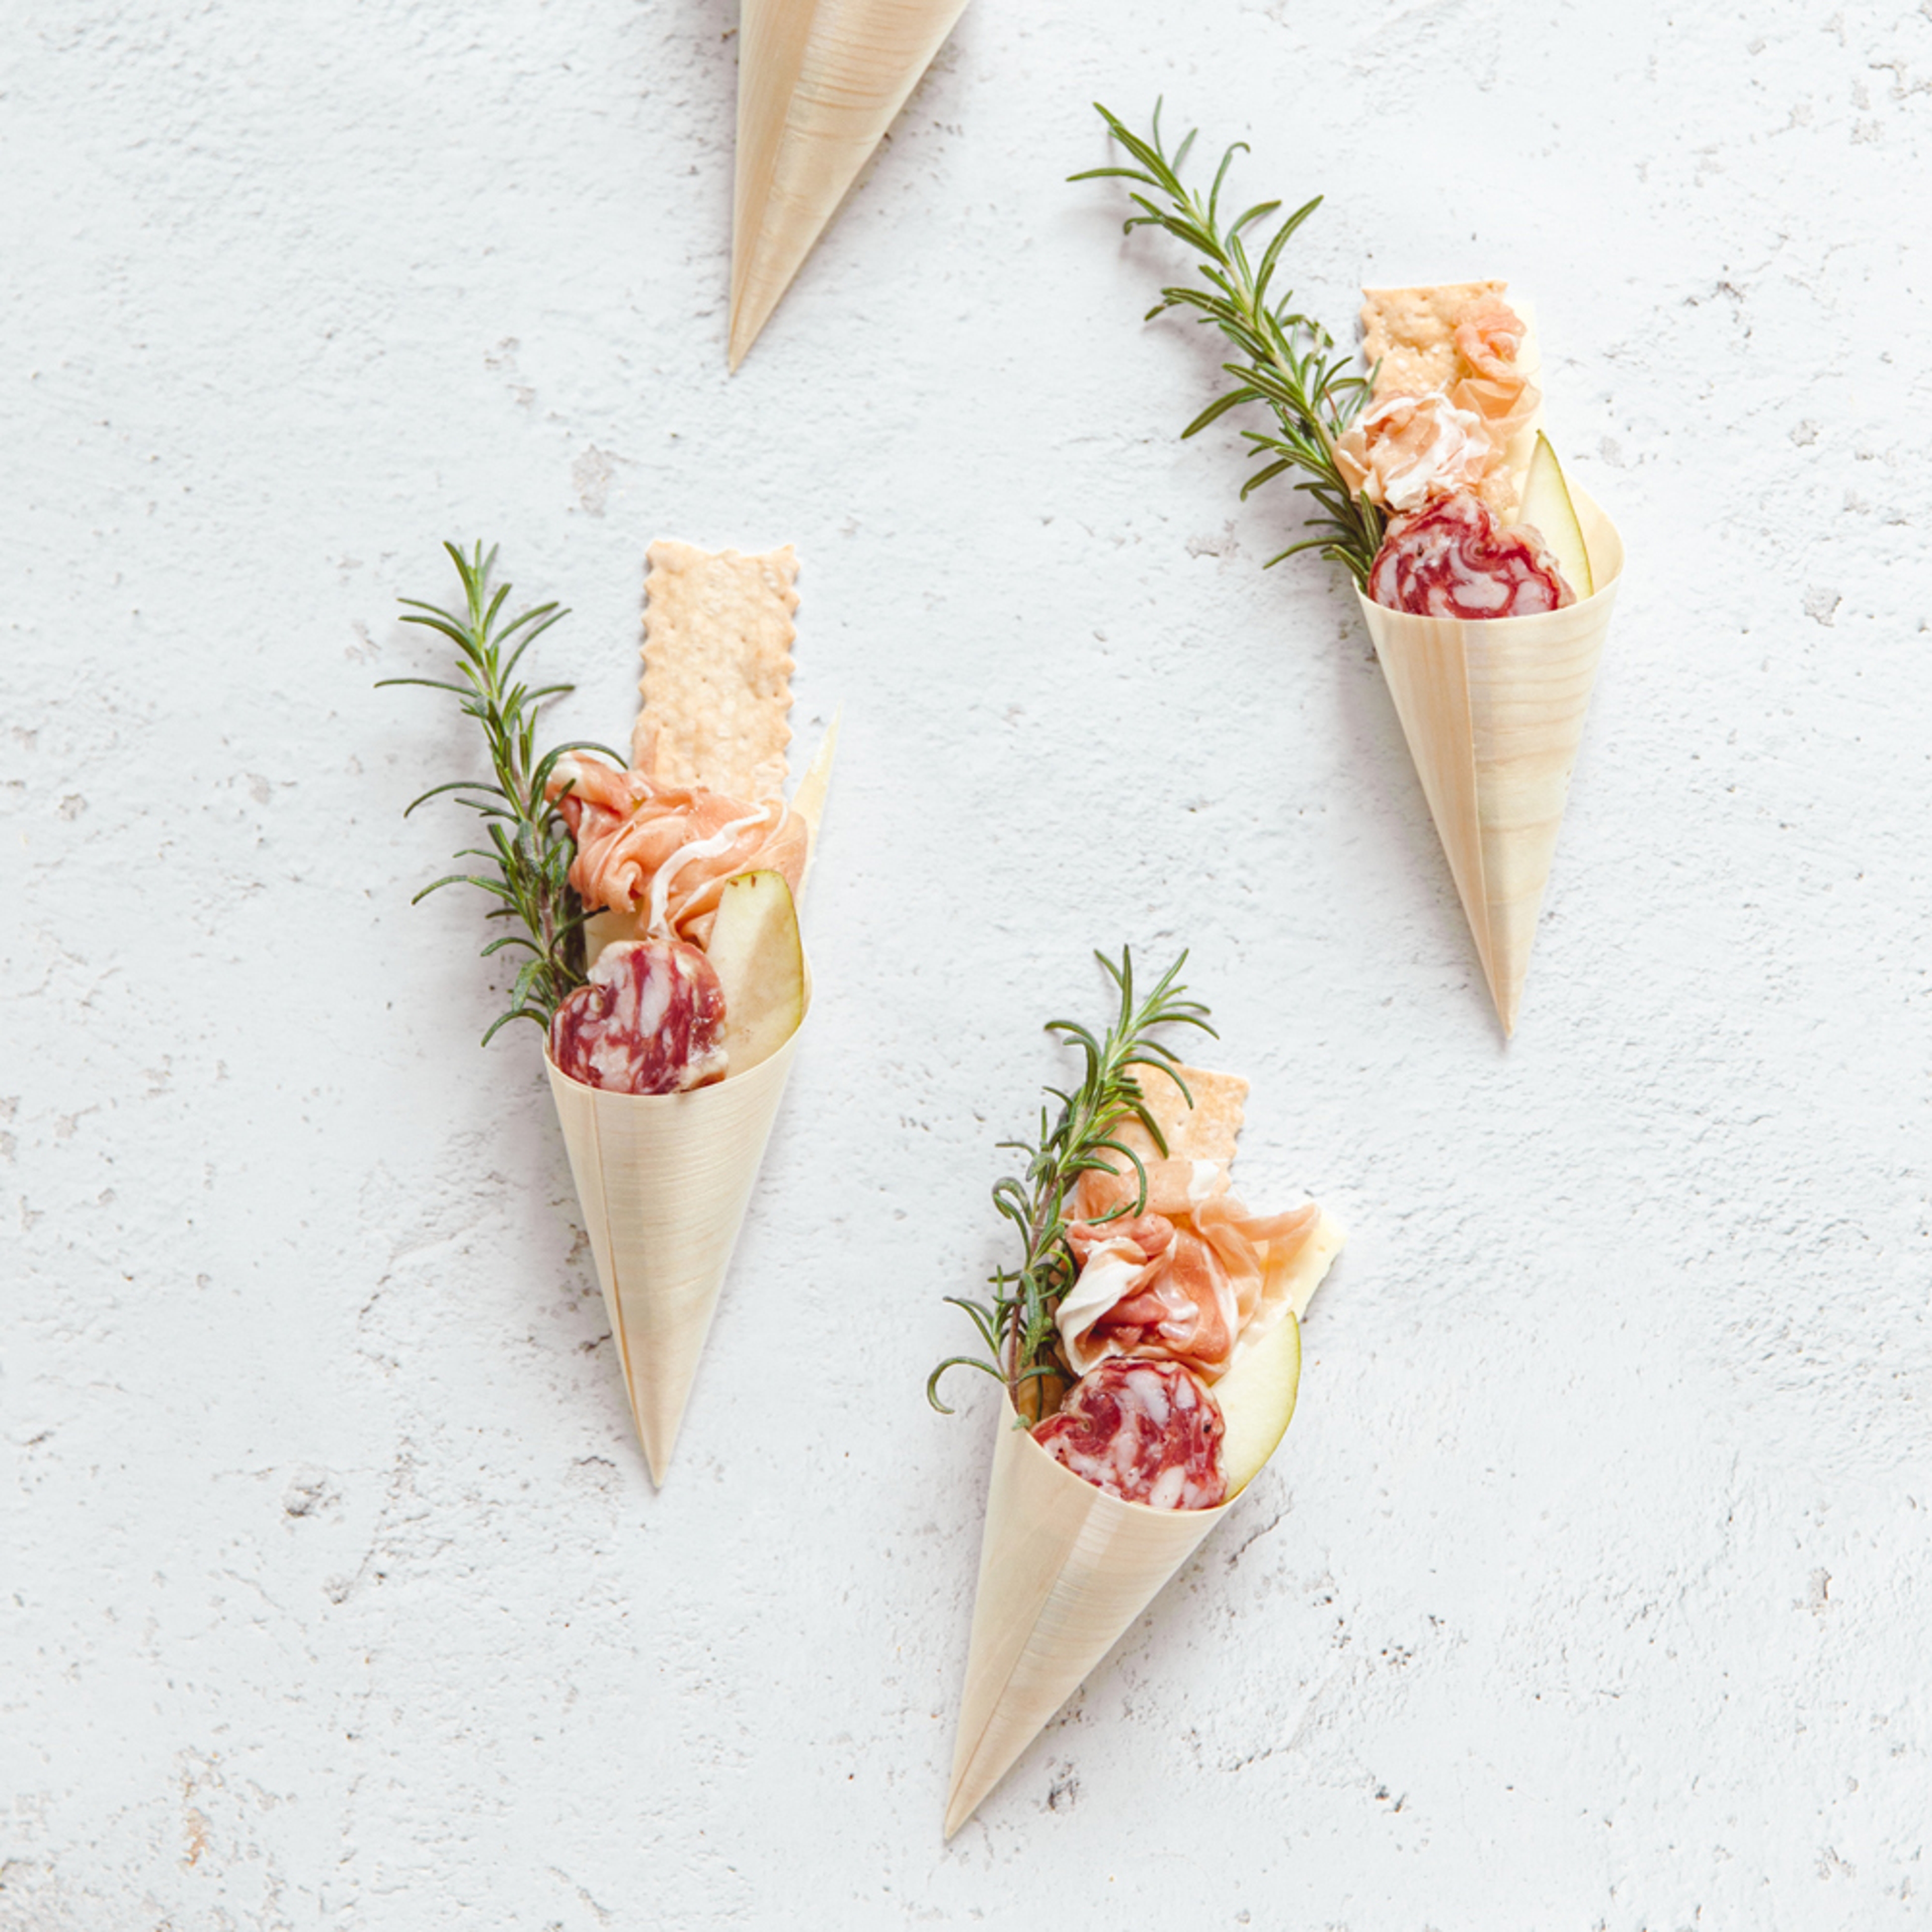
Add a triangle or two (or three, if there's room) of your favorite cheese. Try mixing flavors and textures, or fill a couple of cones with different cheeses if you're serving a party. You can also add a rosemary sprig for a fresh herb detail and a pop of color, or a slice of fresh fruit, such as pears or apples.
Step 3
Add in your meats. I used salami and prosciutto. Create extra visual appeal by forming prosciutto “roses" by simply folding the prosciutto in half lengthwise and then wrapping it around itself in a circle, giving it the look of a rose blossom. If you're truly ambitious, go ahead and make an entire rose-themed charcuterie board.
Step 4
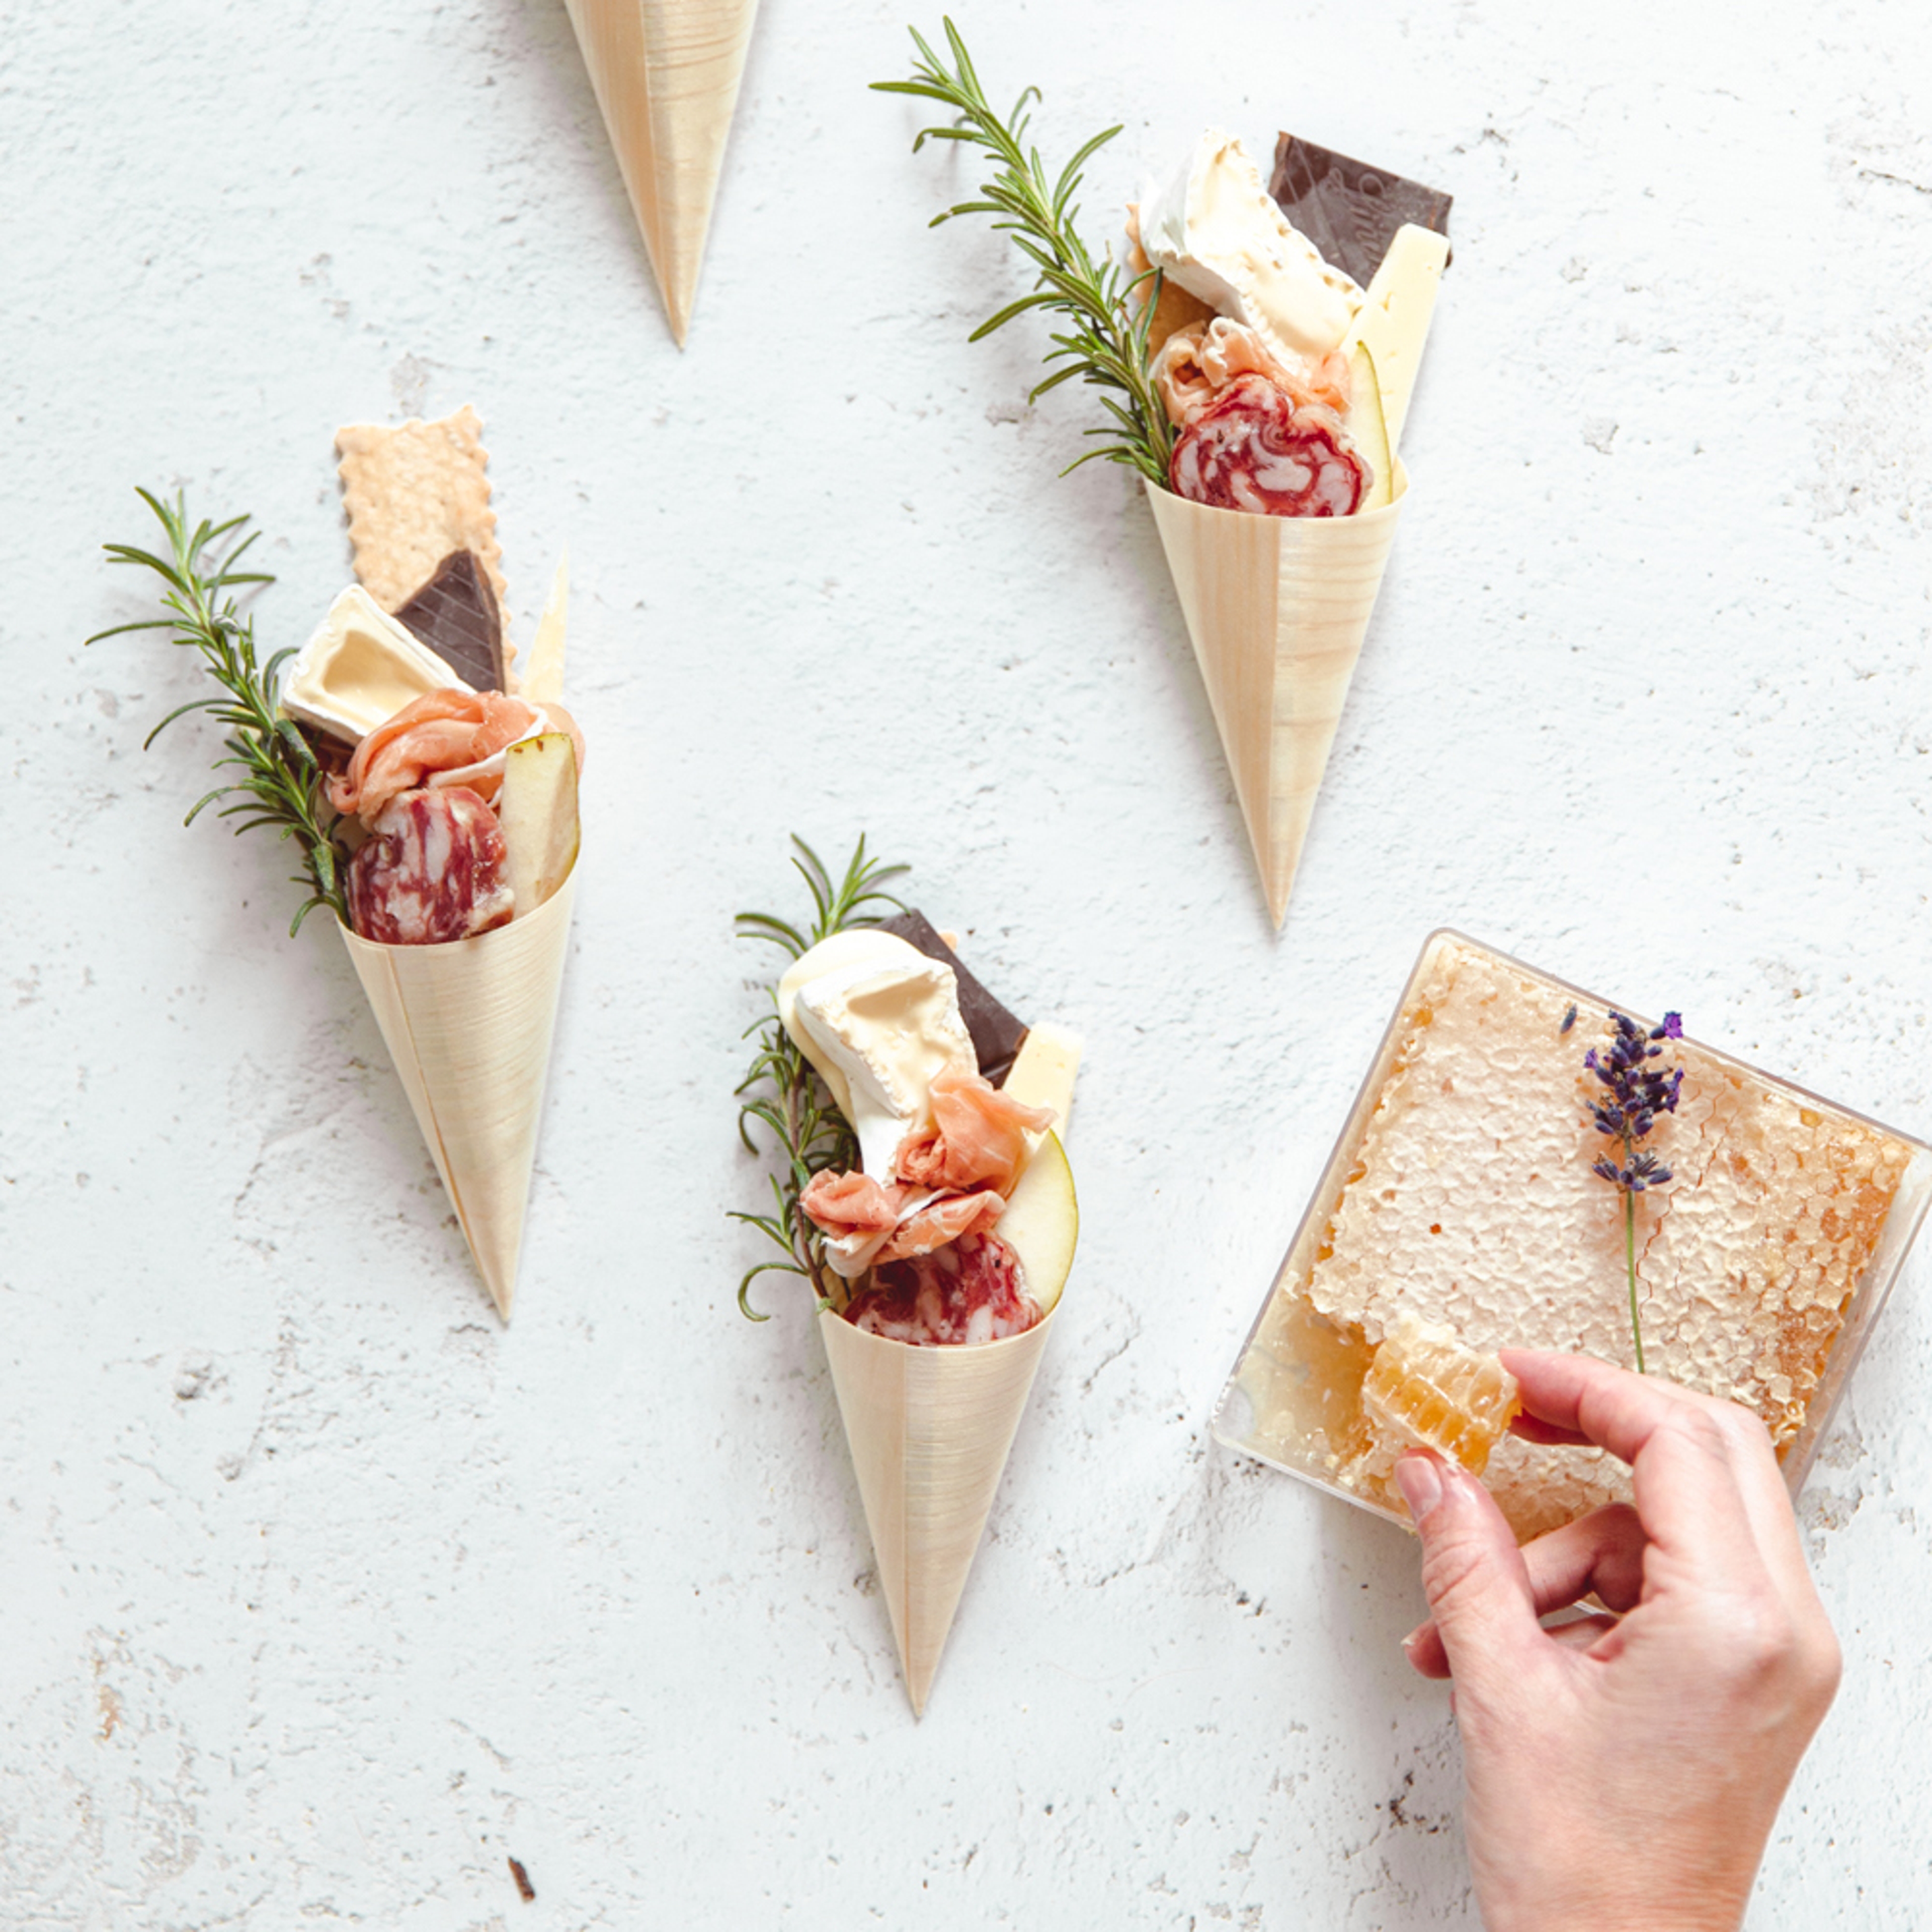
Finish off your cone with some bold flavors, such as a slice of Brie, some chocolate, and a honeycomb. These are the figurative cherries on the top (or be bold and add actual cherries) that can provide different textures, colors, and tastes.
And that's it! With your charcuterie cone in hand, and paired with a glass of wine, you're ready for your next social gathering, movie night, or simple Sunday evening in.
.svg?q=70&width=384&auto=webp)


